Creating an Heirloom Album From Old Photos
Almost every family I work with in the desert has a version of the same thing somewhere in the house: a shoebox, a dresser drawer, or a sagging cardboard banker's box in the garage, stuffed with loose prints. Wedding portraits from the 1950s. A square Instamatic snapshot of a child squinting on a beach. Polaroids gone amber at the edges. A studio portrait of a great-grandmother nobody alive can name with certainty anymore. These boxes are some of the most precious things people own, and they are also, quietly, falling apart — fading, sticking together, curling, and getting more anonymous with every year that the people who could identify them grow older.
Turning that loose pile into a single, deliberate heirloom album is one of the most meaningful projects a family can take on. It is not scrapbooking, exactly, and it is not just "getting organized." It is making one object that holds the story, that a grandchild can pull off a shelf in fifty years and actually understand. I've helped a lot of Coachella Valley families do this — often alongside the legacy portrait work I do — and I want to walk you through how to do it well, start to finish, without getting overwhelmed or making the mistakes that cost people their originals.
What an heirloom album actually is (and what it isn't)
It helps to be clear about the goal before you start pulling photos out of the box.
An heirloom album is a curated, printed, bound book built to last for generations and to be understood by people who weren't there. That last part is the whole game. A pile of 400 unlabeled photos is a burden you're handing your descendants. A 60- to 100-image album with a clear arc, dates, and names is a gift.
A few things it is not:
- It is not every photo you own. Restraint is the single biggest difference between an album people actually open and a doorstop nobody touches. You are editing, not archiving.
- It is not a craft project that destroys the originals. The old magnetic "self-stick" albums from the 1970s and '80s — the ones with the sticky pages and the cloudy plastic overlay — are actively eating your photos right now. We're making something better, and we are not gluing anything irreplaceable down.
- It is not the same as a backup. You should also have your photos scanned and stored digitally (more on that below), but the album is the thing people hold. Both matter, for different reasons.
If you take only one idea from this article, let it be this: work from scans, keep the originals safe. The album gets built from copies. The originals go back into safe, archival storage. That one principle prevents almost every heartbreak in this process.
Step one: gather everything in one place
Before you decide anything, get all of it together. The garage box, the album on the bookshelf, the envelopes still inside the drugstore photo sleeves, the framed pictures on the hallway wall, the photos other relatives are holding. You can't sequence a story when half of it is in your sister's house in Indio and half is in a tote in your closet.
This is also the moment to send a group text to siblings and cousins. In my experience, the best heirloom albums are collaborative — your brother has the only photo of your parents' wedding, your aunt has the baby pictures, somebody has the one good shot of the grandparents who came over from elsewhere. Ask everyone to photograph or scan what they have, even roughly, so you can see the whole field before you commit.
A practical tip for desert households: get the boxes out of the garage and out of any unconditioned storage now, regardless of whether you finish the album this month. Our summer heat is genuinely destructive to photographs. A garage in La Quinta or Indio routinely hits 120°F-plus in July, and that heat accelerates fading and makes old prints stick together and warp. Even before you sort a single picture, moving the box into the air-conditioned house is a meaningful act of preservation.
Step two: sort, but sort gently
Now you spread it out — a big table works best, ideally somewhere you can leave it for a few days. Wash and dry your hands first, and handle prints by the edges. Old photo surfaces hold fingerprints, and the oils do real damage over decades.
I suggest sorting into rough piles rather than trying to perfect anything yet:
- By era or generation — great-grandparents, grandparents, your parents' early life, your own childhood, the current kids. Chronology is the backbone most heirloom albums are built on, so this pays off later.
- By "definitely in the album," "maybe," and "no." Be honest. Eleven nearly identical shots of the same birthday cake become one shot in the album. Blurry, redundant, and unflattering pictures can stay in the archive box but don't need to be in the book.
- A "needs help" pile for anything torn, water-stained, badly faded, or stuck to glass or another photo. Set these aside; don't force them apart. We'll deal with restoration separately.
As you sort, keep a pencil and some acid-free sticky notes nearby. When a memory surfaces — that's Aunt Ruth's place in Palm Springs, Easter 1962 — write it down immediately on a sticky note (never on the back of the photo with a ballpoint pen; the pressure and ink can show through and damage it). Those captions are worth as much as the pictures.
A note on the photos nobody can identify
Every box has them — the formal studio portraits of unnamed ancestors. Don't throw these out, and don't necessarily exclude them. Sometimes an older relative can identify them on a phone call. Sometimes the back has a faint pencil note or a photographer's studio stamp from a specific town that tells you where the family was at a certain time. And sometimes an unnamed but beautiful 1910s portrait earns a place in the album simply as "a relative on my father's side, name now lost" — which is its own honest and rather moving caption.
Step three: digitize before you build
This is the technical heart of the project, and it's where people either set themselves up for success or create a mess. You want clean digital copies of every photo going into the album (and ideally every photo worth keeping at all).
Your options, roughly in order of quality:
- A flatbed scanner at 600 dpi. This is the gold standard for loose prints and the route I recommend for the album-bound images. Scan at 600 dpi minimum for standard prints; go to 1200 dpi for anything small (a wallet photo, a tiny contact print) that you might want to enlarge. Save as TIFF for your master copies if you can, with JPEGs derived from those for everyday use. Scan in color even for black-and-white photos — it captures the warm tones and lets you correct more later.
- A dedicated photo-scanning service. If you have hundreds of images, this is often worth it for your sanity. You mail or drop off the box and get back high-resolution files. There are national mail-in services, and local print and camera shops around the valley and over in the Palm Springs area can either do it or point you to someone reputable. Ask about resolution (insist on 600 dpi or higher) and how they handle and return originals.
- Phone scanning apps, as a fast first pass. They're genuinely useful for the "send me what you've got" step with relatives, and surprisingly decent in good light. But for the actual album images, a real scan will look noticeably better in print.
Whatever you do, back up the scans in more than one place — your computer, an external drive, and a cloud service is the classic three-copy rule. A single hard drive is not a backup. The whole point of this exercise is permanence.
For slides and negatives — those carousels of Kodachrome from the '60s and '70s that a lot of valley families have — you'll need either a film/slide scanner or a service that handles film. Hold a slide up to the light before you invest; sometimes the slide is sharper and better-exposed than any print ever made from it.
Step four: restore what's worth restoring
Once things are scanned, you can repair them digitally without ever touching the fragile original again. This is the magic of working from scans: a torn or stained photo can be healed in the file, printed clean and whole for the album, while the precious damaged original stays untouched in storage.
What can realistically be fixed:
- Fading and color shifts (that orange-pink cast on '70s prints) — usually very correctable.
- Tears, cracks, and missing corners — repairable, sometimes invisibly, depending on what's lost.
- Water stains, mold spots, and surface scratches — often improvable.
- Photos stuck to glass or to each other — sometimes salvageable by a professional; please don't pry these apart yourself, as you can tear the emulsion right off.
You can learn to do light restoration yourself, but for anything truly important and badly damaged, a professional restoration service is money well spent. If a single image is the photo — the only one of a parent as a child, say — I'd never gamble it on an amateur first attempt.
Step five: sequence the story
Here's where an heirloom album becomes more than a tidy collection. You're deciding the order, and order is storytelling.
The most natural structure is chronological: start with the oldest generation and move forward to the present. A grandchild flipping through it experiences the family arriving in time, which is deeply satisfying and easy to follow. Within that, a few approaches that work beautifully:
- Open with the eldest. That faded portrait of the great-grandparents on the first page sets the depth of the story immediately.
- Group by chapter — by generation, by decade, or by family branch. Soft dividers or a single full-page portrait to open each section help the reader keep their bearings.
- Let a few images breathe. Not every page needs to be full. A single strong portrait alone on a page carries enormous weight — far more than a grid of eight small snapshots.
- End in the present, with the current generation, so the book feels alive rather than purely backward-looking. Some families leave the last few pages intentionally open to keep adding to.
Resist the urge to cram. Twelve photos on a spread reads as clutter; two or three reads as reverence. The empty space is part of the design.
Step six: write the captions and names
I'll say this plainly because it's the part people skip and later regret: an heirloom album without names and dates loses most of its value in one generation. The whole reason you're doing this is so the box doesn't become anonymous. So caption it.
You don't need to write essays. For most photos, you want:
- Who — full names, including maiden names. "Eleanor (Hartley) Boyd" tells a future genealogist far more than "Grandma."
- When — even approximate. "About 1948" is infinitely better than nothing.
- Where — the town or the place. "Their first house in Palm Springs."
Then, for a handful of key images, add a sentence or two of story — the thing only a living person knows. He drove that Buick all the way from back east when they retired out to the desert. She insisted on this exact dress. These little human notes are what turn an album from a record into a heirloom. If you have older relatives, interview them while you can; record the call on your phone. Those voices are part of what you're preserving.
Step seven: choose how to print and bind it
You've curated, scanned, restored, sequenced, and captioned. Now you make the actual object — and the object matters, because it has to survive being loved and handled for decades.
A few routes, from most heirloom-worthy down:
- A professionally printed and bound photo book (the kind made from your laid-out design file). Modern photo books with lay-flat pages and thick, archival paper are gorgeous and durable, and they let you place captions cleanly beside each image. This is what I steer most families toward for a true heirloom. Spend a little more for quality paper and a hardcover or linen binding; this is not the place to pick the cheapest option.
- An archival album with printed pages or photo corners. If you love the tactile feel of a traditional album, use one rated acid-free and lignin-free, and mount prints with archival photo corners (never glue, never the old sticky-page albums). This keeps originals or fresh prints removable and undamaged.
- Multiple copies. Here's a real advantage of building from a digital layout: you can order one for yourself and a copy for each sibling or child. For many families this becomes the holiday gift that genuinely lands — far more than another sweater.
Whatever you choose, get a proof or order a single copy first and check the color and sharpness before you order five. Screens lie about how prints will look.
Common mistakes I see — and how to avoid them
- Working with the originals instead of scans. Build the album from copies. Always.
- Leaving the box in the garage. Heat and humidity swings here are the enemy. Get it into conditioned space.
- Using ballpoint or marker on the back of prints. Soft pencil only, light pressure, in a corner — or better, label the scan, not the print.
- Over-stuffing. A focused 80-image album beats a 300-image one every single time.
- Skipping the names. You will regret this on behalf of people not yet born.
- Waiting for "someday." The relatives who can identify the faces and tell the stories are the irreplaceable, time-sensitive part. The photos can wait a year; the memories in people's heads cannot.
Where new portraits fit in
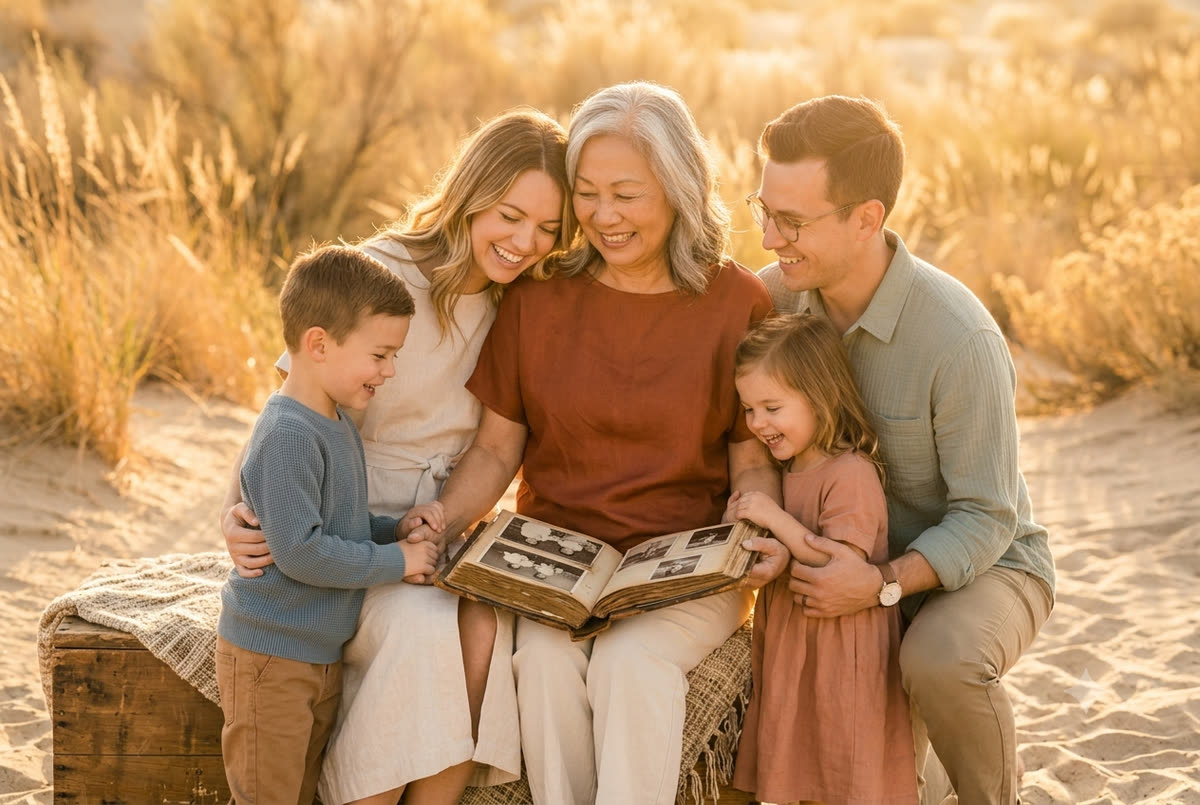
Many families discover, partway through this project, that the story has a gap right at the present — they have a hundred photos of the grandparents young and almost none of the family as it is now. An heirloom album is a wonderful prompt to make a true, current portrait of the living generations, so the book closes on the people you still have. Most of my work happens right where families are most themselves — in the comfort of their own home, in soft natural window light, or at a favorite local park, garden, or shaded patio here in the valley, where the late-afternoon golden hour does the flattering for us. I especially love photographing three generations of a family together or grandparents with their grandchildren this way. That fresh portrait becomes the final, full-page image — the one the next person to inherit the album will treat as their "old photo" someday.
If part of your reason for doing this is that an elder's health or memory is fragile, the album project pairs naturally with legacy and end-of-life portrait work, and there's no wrong order to do them in. Sometimes the conversations you have sorting old photos with a parent are themselves the most valuable thing the project produces.
A gentle place to start
If all of this feels like a lot, here's the truth: you don't have to do it all in a weekend, and you don't have to do it alone. Start by moving the box indoors and spending one quiet evening sorting into rough piles. That's a real, meaningful beginning, and everything else follows from it.
If you'd like a hand — whether that's making a current portrait of your family to anchor the album, talking through how to organize a legacy project, or sitting down with an elder while their memories are still vivid — I'd be glad to help. You can reach out to me here, and we'll figure out the right next step for your family's story. Of all the work I do, helping families hold onto who they came from is the part I'd least want to miss.